Tiles site format in Moodle
Tiles is a site format available at UOW that provides sections in a series of rows and columns on the site page, with supporting icons or images. It offers greater flexibility and accessibility that the previously available, Grid format.
Why?
To assist with navigation and improve student access to content, the Tiles site format features:
- the ability to add a unique image or icon per section
- completion progress for each site section
- sections that resize dynamically, adapting to screen size
The Tiles format displays site sections in blocks which allows for visual navigation of site sections. When a student clicks on a site section, it will expand to display the activities and resources within it.
Site view

Preview of an opened section

How?
Getting familiar with the Tiles format
To experiment with the Tiles format without changing your current subject site, Create an empty sandpit site and follow the instructions below to change it to the Tiles format.
Setting up the Tiles format
To change a site to the Tiles format:
- Select Settings from the Site settings menu.

- Expand the Site format section and select Tiles from the Format dropdown menu.

Note: The page will reload whenever an option is selected to display format-specific settings. - Retain the default settings unless you have specific requirements. You can select a default Tile icon by clicking the Pick a new icon button.

Note: Different icons can be set for individual tiles in the site later, if required. - If completion tracking is enabled in your site, you may opt to display Progress on each tile.

- Click the Save and display button.
Setting individual icons or images for each tile
If you have cause for the Tiles in your subject site to have different icons, you can achieve this by following the steps below:
- Ensure Edit Mode is on.

- Navigate to the Tile you would like to edit.
- Select Set photo/icon from the section Actions menu.

- The Pick a new icon or background photo window will display with a number of preset options. There are category tabs in the top left which filter display between icons, numbers and previously uploaded images; as well as an option to upload a new image.
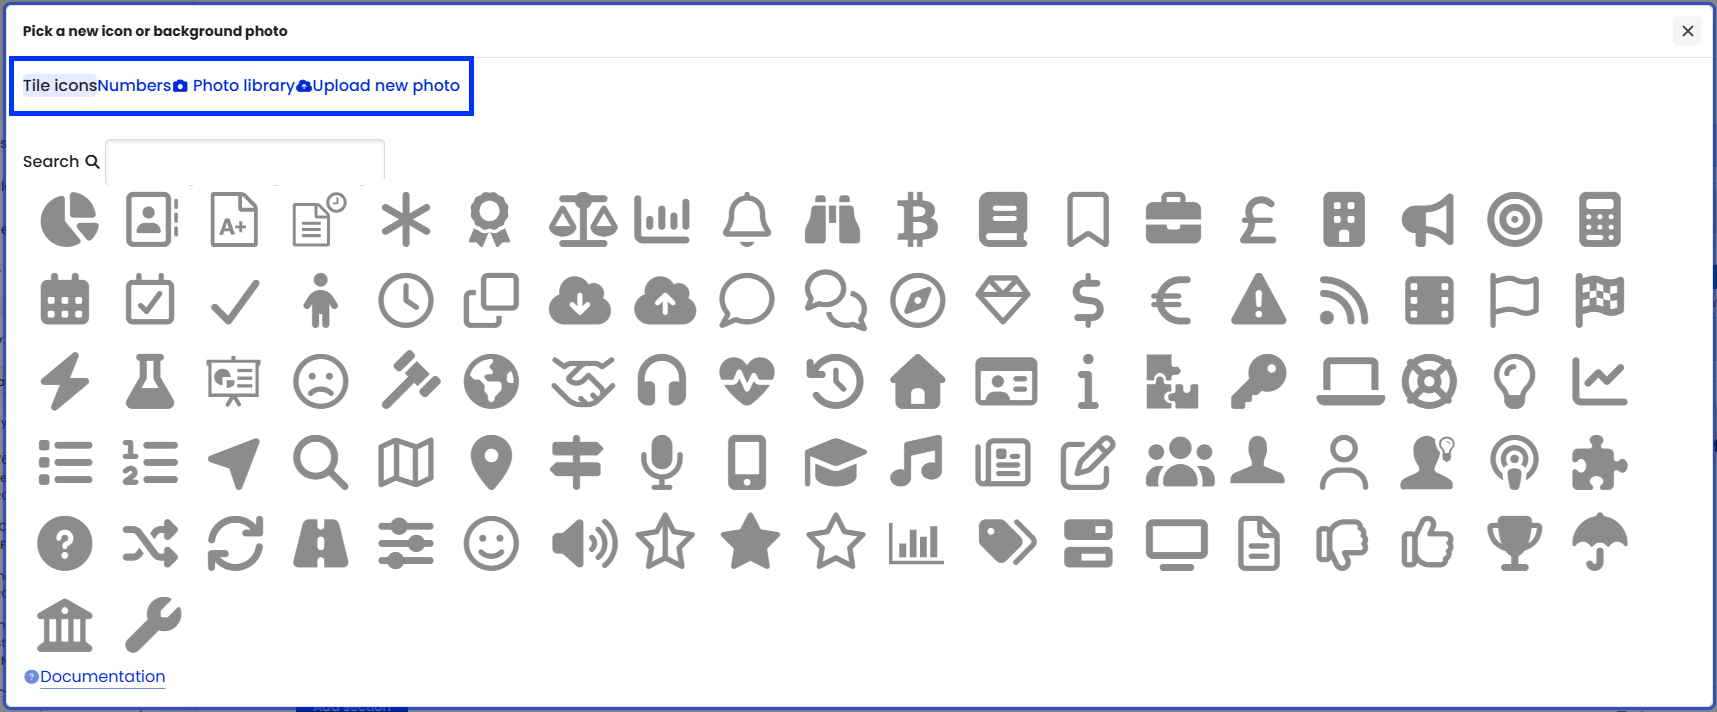
- Select an icon or photo from the library for it to automatically apply to the section.
If uploading a new photo, you will be taken to a new window where you can upload the file, then click the Save changes button to apply.
Note: When adding images, consider the relevance and meaning conveyed for the context.

